Why every new Seattle deck should be designed with motorized solar shades in mind, even if you install them later
We build a lot of decks in Seattle, Bellevue, and around the Eastside. Every spring, the same call comes in. “We love the deck you built us two years ago. We want to add motorized screens now. What’s it going to take?”
The answer depends almost entirely on what we did during the original build. If we planned for the screens, the upgrade is straightforward. If we didn’t, the homeowner is usually looking at retrofit work that costs three to five times what it would have during the deck build itself.
So here’s the case for designing your new deck around motorized solar shades from day one, even if you have no plans to install them yet.
What the screens actually do
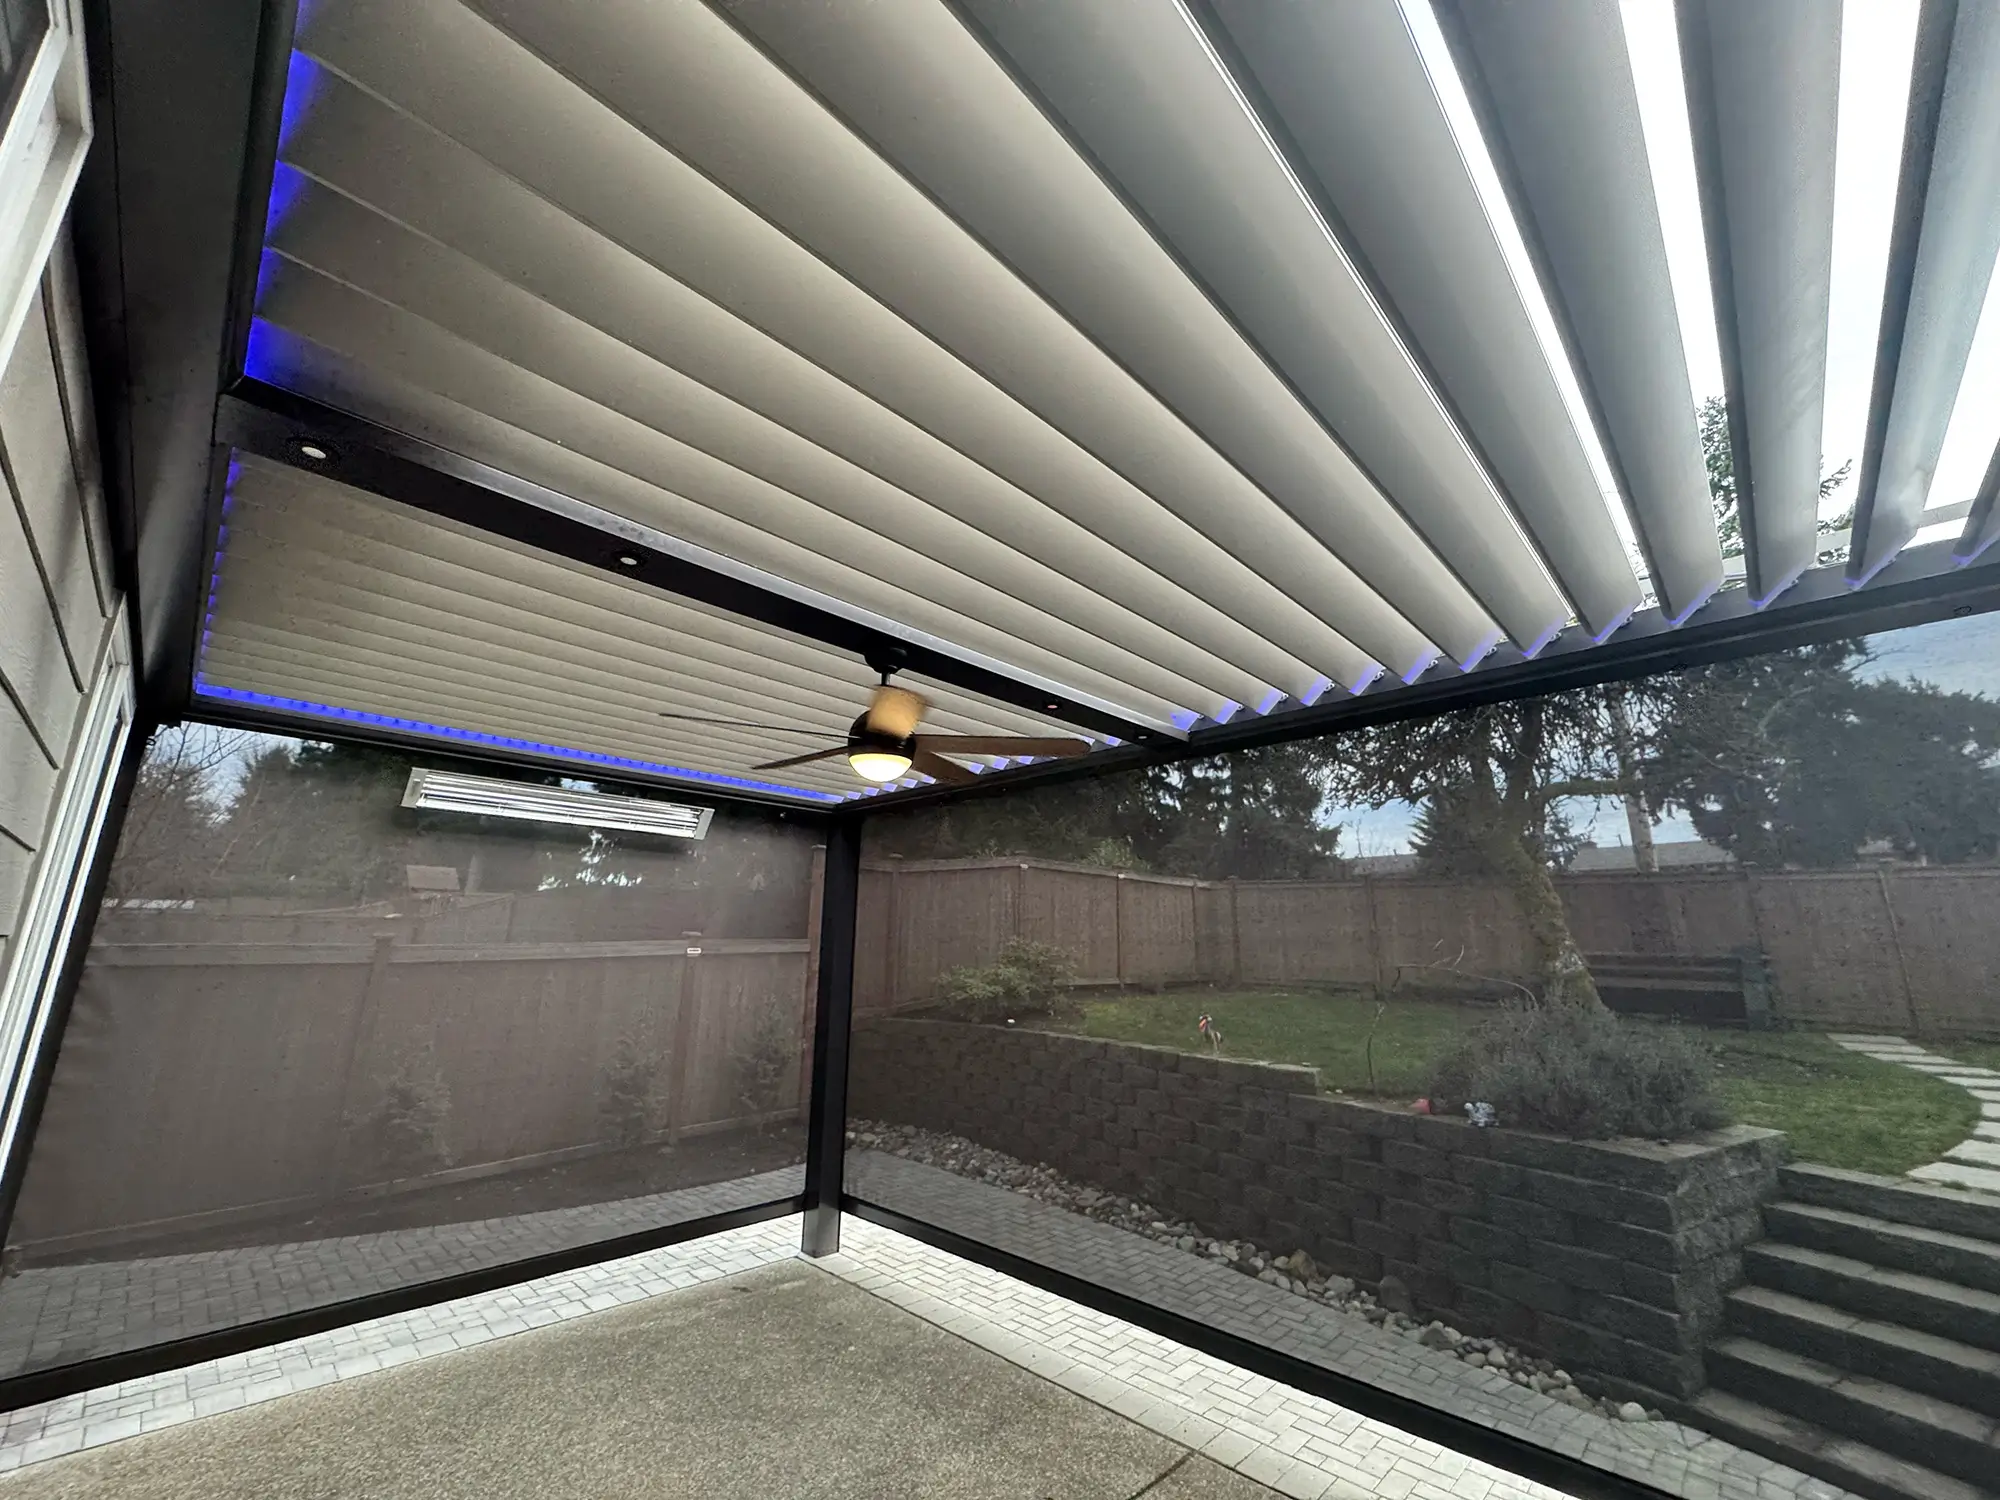
Motorized solar shades — sometimes called power screens or retractable patio screens — are fabric panels that drop from a housing mounted at the top of your deck’s covered area. They run on Somfy motors, retract into the housing when not in use, and extend at the push of a button or a tap on your phone.
We install Rainier on most of our jobs. The system specs and fabric options are on Rainier Shading’s power screen page if you want to go deep on the hardware side.
In practice, on a west-facing Seattle deck, the screens block most direct sun without killing the view, knock down evening wind off the water, and keep light rain off the seating area. Most of our clients tell us they get an extra few hours of usable deck time on summer evenings and a real drop in cooling costs during the August heat windows we now get every year.
A 14-foot screen runs roughly $4,800 to $7,500 installed depending on fabric and motor choice. A wraparound of three sits in the $14K to $22K range.
The retrofit problem
Here is what happens when motorized screens get added to a deck that wasn’t designed for them.
The housing — the metal tube that holds the rolled-up fabric — needs structural attachment. It mounts to a beam, a header, or a louvered roof frame. On a deck without a cover, there is nothing up there to mount it to. The retrofit means adding a posts-and-beam structure first, then mounting the screens to that.
The wiring is the second problem. Each screen needs power and ideally a low-voltage control line. On a finished deck with already-installed ceiling cladding, new wire means cutting into trim, fishing through enclosed framing, and patching the cosmetic damage. We have done these retrofits. The labor on the wiring alone can run $1,200 to $2,500 before you have touched a screen.
Post placement is the third issue. A screen has to come down to a hard stop — a deck rail, a knee wall, or the deck surface. If your existing posts are spaced for how the deck looks rather than how a screen would fit, you may have a 16-foot opening that needs to be split into two 8-foot screens. That doubles the motor and housing cost on that run.
What planning ahead actually means
You don’t have to install screens during the original build. You just have to build the deck so screens can drop in later without surgery.
Here is what we do on every deck where the homeowner says “maybe someday”:
We size the structural beams above any covered section to carry the additional load of a screen housing and the wind load on a deployed screen. That is a numbers change in the engineering, not a cost change in the materials.
We run conduit during framing, usually two half-inch runs to each future screen location — one for line voltage, one for low-voltage control. The conduit costs maybe $80 in materials. Pulling it through a finished deck two years later costs $1,500.
We set post spacing on the deck cover or pergola to land on standard screen widths. Rainier makes screens up to about 19 feet wide, but the cleanest installations sit between 10 and 14 feet per screen. We space posts to those numbers so the homeowner doesn’t get forced into an awkward split later.
We block the soffit or ceiling cladding around future housing locations so the housing can be mounted later without tearing into finish work.
Total added cost during the original build: usually under $400 in materials, plus a couple of hours of extra framing labor.
The deck-cover question
Motorized screens need something to hang from. On a bare deck with no roof, you can still install them, but the cleaner approach is to plan a cover at the same time you plan the deck.
We install three covers most often. A motorized louvered roof opens and closes, the screens drop from the roof frame, and you get a four-season space — highest cost, highest flexibility. Our motorized louvered pergola page gets into the structural side. An acrylic patio cover is a solid roof with high light transmission, and it blocks rain better than anything else we install. The screens mount to the front edge beam. Lower cost than louvered, less flexibility on hot days when you would have wanted the roof open. The acrylic patio cover page walks through the specifics. A motorized retractable awning is the budget-conscious option — the awning itself provides shade and partial rain protection, and you can pair it with vertical screens for full enclosure. Details on our retractable awning page.
If you are building a new deck and don’t yet know which cover you want, that is fine. The structural prep is the same for all three. Decide later.
What this looked like on an actual job
A 2024 build in Magnolia. Client wanted a 600 square foot Trex deck with western exposure over Puget Sound. They told us flat out they did not want to spend money on screens or a cover during the original build.
We prepped anyway. We engineered the rim and outer posts to carry a future 14-foot acrylic cover. We ran half-inch conduit from the house panel to two future screen locations. We spaced the outer posts at 14 feet 6 inches, which gave them a clean single-screen opening. And we blocked the underside of the rim joist for future housing attachment.
Cost to them at the time: $310 in materials and about three hours of extra framing labor.
They called us back in September 2025 to install the cover and the screens. The upgrade took four days. No demolition, no fishing wire through finished framing, no rebuilding posts. If we hadn’t done the prep, that same upgrade would have run an extra $4,000 to $6,000 in retrofit labor.
Why this matters more now than it did ten years ago
The Seattle climate is shifting. Summers run hotter and drier through July and August than they did twenty years ago. The shoulder seasons on either end of summer are longer. Both of those trends push the value of solar shades up, and neither is going to reverse.
You don’t have to spend money on screens during your deck build. You probably shouldn’t if cash flow is tight or you are not sure how you’ll use the space yet. But you should be asking whoever builds your deck whether they are designing for screens you might want in three years.
If they don’t have an answer, find someone who does.
How we handle this in our scoping calls
When someone reaches out about a new deck in Seattle, one of the first things we ask is what they want the space to do in October and in April, not just in July. That answer changes the framing plan, the post layout, and sometimes the deck footprint itself.
We’d rather have that conversation at the sketch stage than at the demolition stage two years later.
If you are thinking about a new deck and want to walk through what future-proofing the structure actually costs, request a free quote and we will come out. For homeowners already deciding between cover and screen options, our motorized screens page covers the fabric and motor choices in more detail.
A new deck is going to sit on your house for thirty years. Spending a few hundred dollars now to keep your options open for the next twenty-nine of them isn’t a tough decision.